
A Quick, Simple and Eco-Friendly Valentine's Day Craft

My daughter’s favorite color is pink. As in her water bottle is pink, she will only wear the pink t-shirts and pants, she pretends her food is pink, her backpack is pink, she wants to paint everyone’s nails pink, and it goes on and on and on.
Since Valentine’s Day is ALL ABOUT THE PINK (and red), I wanted to make something cute, but colorful for us to hang in the house. I also wanted to make a craft using only items I had on hand or that I could borrow - and all of the items on this list you probably have on hand too, with the exception of the pompom makers. Those I borrowed from my Grandma. (Grandmas for the win, am I right?!)

You only need a few supplies!
What you’ll need:
white felt (gifted to me a few months back through a Buy nothing facebook group)
yarn in different colors (obviously we went with different shades of pink — all from Grandma’s stash)
pom pom maker (my grandma used to make us pompoms for our luggage when we travelled so she already had two in a small and extra-small size) but if you don’t have one you can find one some online
scissors
embroidery string (I used some that my mom had been saving from crafts years ago) but you can also find some online
needle (with a hole large enough for an embroidery string to fit through)
To start you’ll want to have a clear workspace - the kitchen table or the spare room bed. Something large enough that you can lay out your supplies and leave them out for a couple hours (or days depending on how long you want to space this out). aka - if you only have 15 minutes here and there to spend, choose a location that you won’t need to clean up right away. I’m going to guess it took us a total of 2 hours.
step 1: felt hearts
you’ll want to double your fabric (fold it over) and then cut 5-6 squares out. when you are done you should have 5-6 squares or 10-12 pieces of felt. don’t separate the two pieces from each other.
(i cut my squares about 4.5 x 4.5 inches so that the hearts weren’t too large)
just as you probably did in elementary school take both pieces of felt and cut them into a heart, holding both pieces together. that way they are mirror images of each other and will fit perfectly together when you sew and stuff them.
set those aside and make sure to keep the trimmings from cutting the hearts out - you’ll need them later!
step 2: pom poms
to make a 7 foot garland we used 23 pom poms — 9 small and 14 extra small.
when you’re wrapping your pom pom maker make sure you do it extra tight, pushing the yarn together so there aren’t any plastic parts showing
after you’ve wrapped it enough times that you feel it would be a thick and full pom pom, take your scissors and carefully cut down the middle of the pom pom maker (between the two sides).
once you’ve cut it, it should look like the photo below
take a small piece of string and carefully insert it between the two sides of the pom pom maker and tie tight. like, really, really tight.
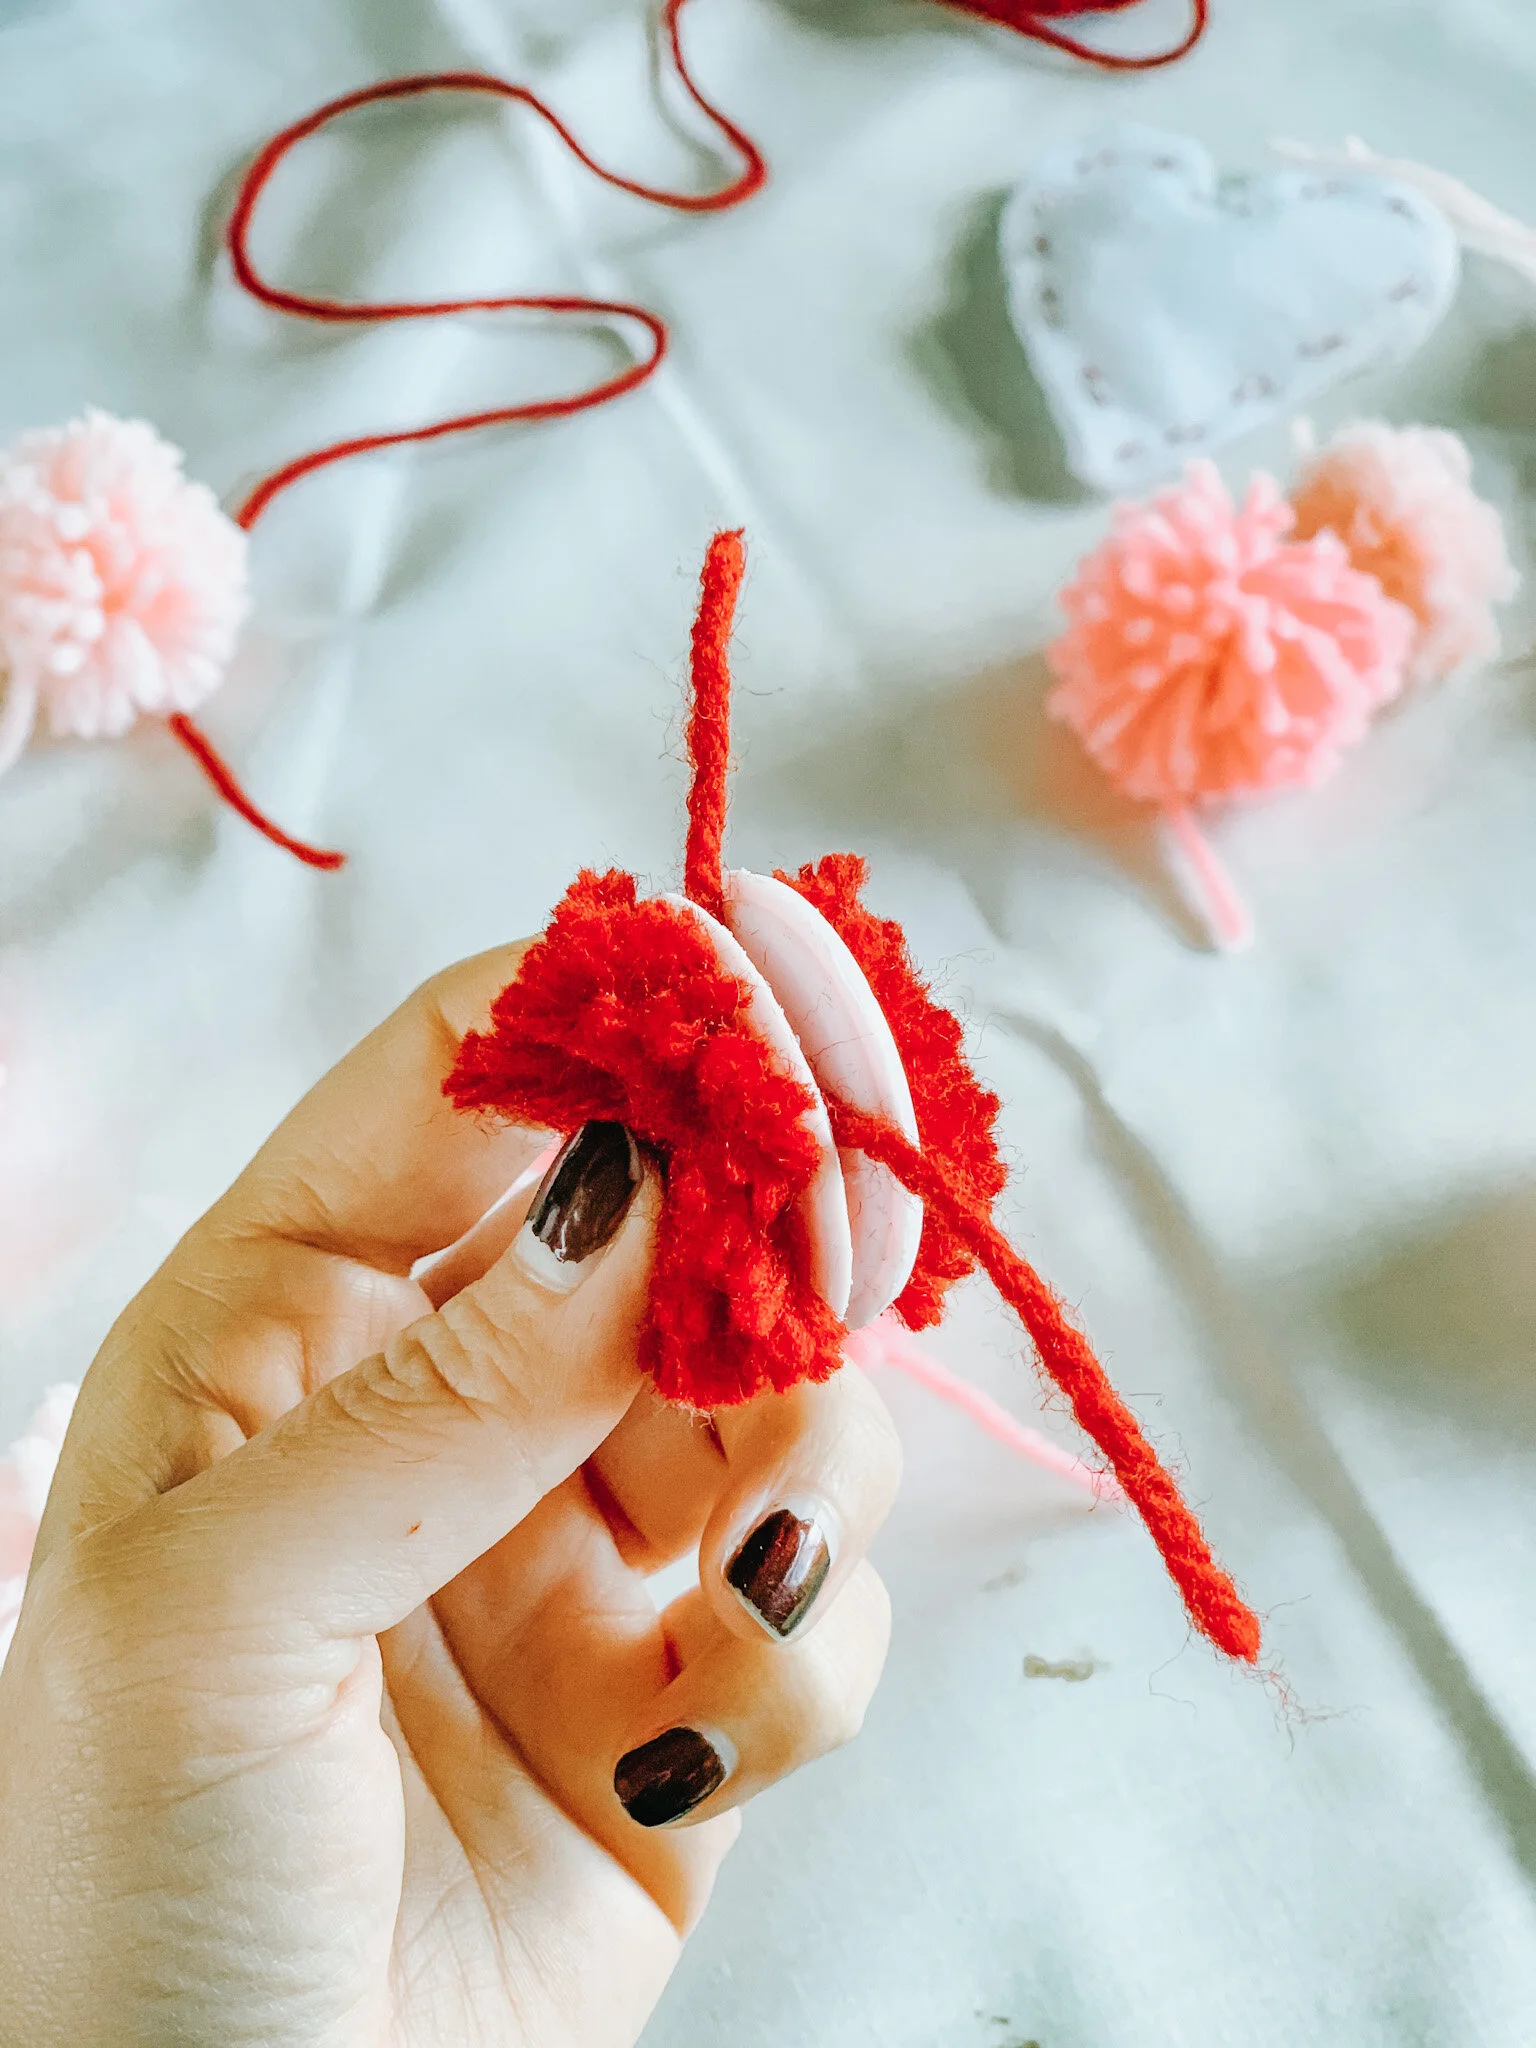
then, carefully remove the plastic sides and boom - you have a pom pom!
make sure to trim any excess yarn so that the pom poms feel “even” - you can even fluff them a bit
repeat this step until you have as many pom poms as you desire

step 3: sewing your hearts
threading your needle, sew 3/4 of the way around the heart. using the felt trimmings from when you cut the hearts out, stuff the heart and continue on until you’ve sewn all the way through.
tie off the ends and trim the excess embroidery string.
the hearts should be “lightly” stuffed as you don’t want them to be too heavy. and using the excess white felt will ensure that there’s no weird color popping through since white felt is pretty see through.
Step 4: stringing everything together
what helped me was setting each heart and pom pom on the floor in the order i wanted them strung. i put 4-5 pom poms in between each heart, mixing and matching the different sizes and colors.

once they are in the order you want, start at one end.
take your threaded needle and start at one end, making sure that when you “string” the pom poms you go through the middle (that you tied off). You might have to move some of the yarn around to find that middle.
then, when you get to a heart, thread through the high middle - that will ensure your heart doesn’t lean forward, but stays upright when hung.
continue on until you have strung all the pieces.
when you cut the string, make sure to leave enough at both ends to create a slip knot so you can easily hang it.
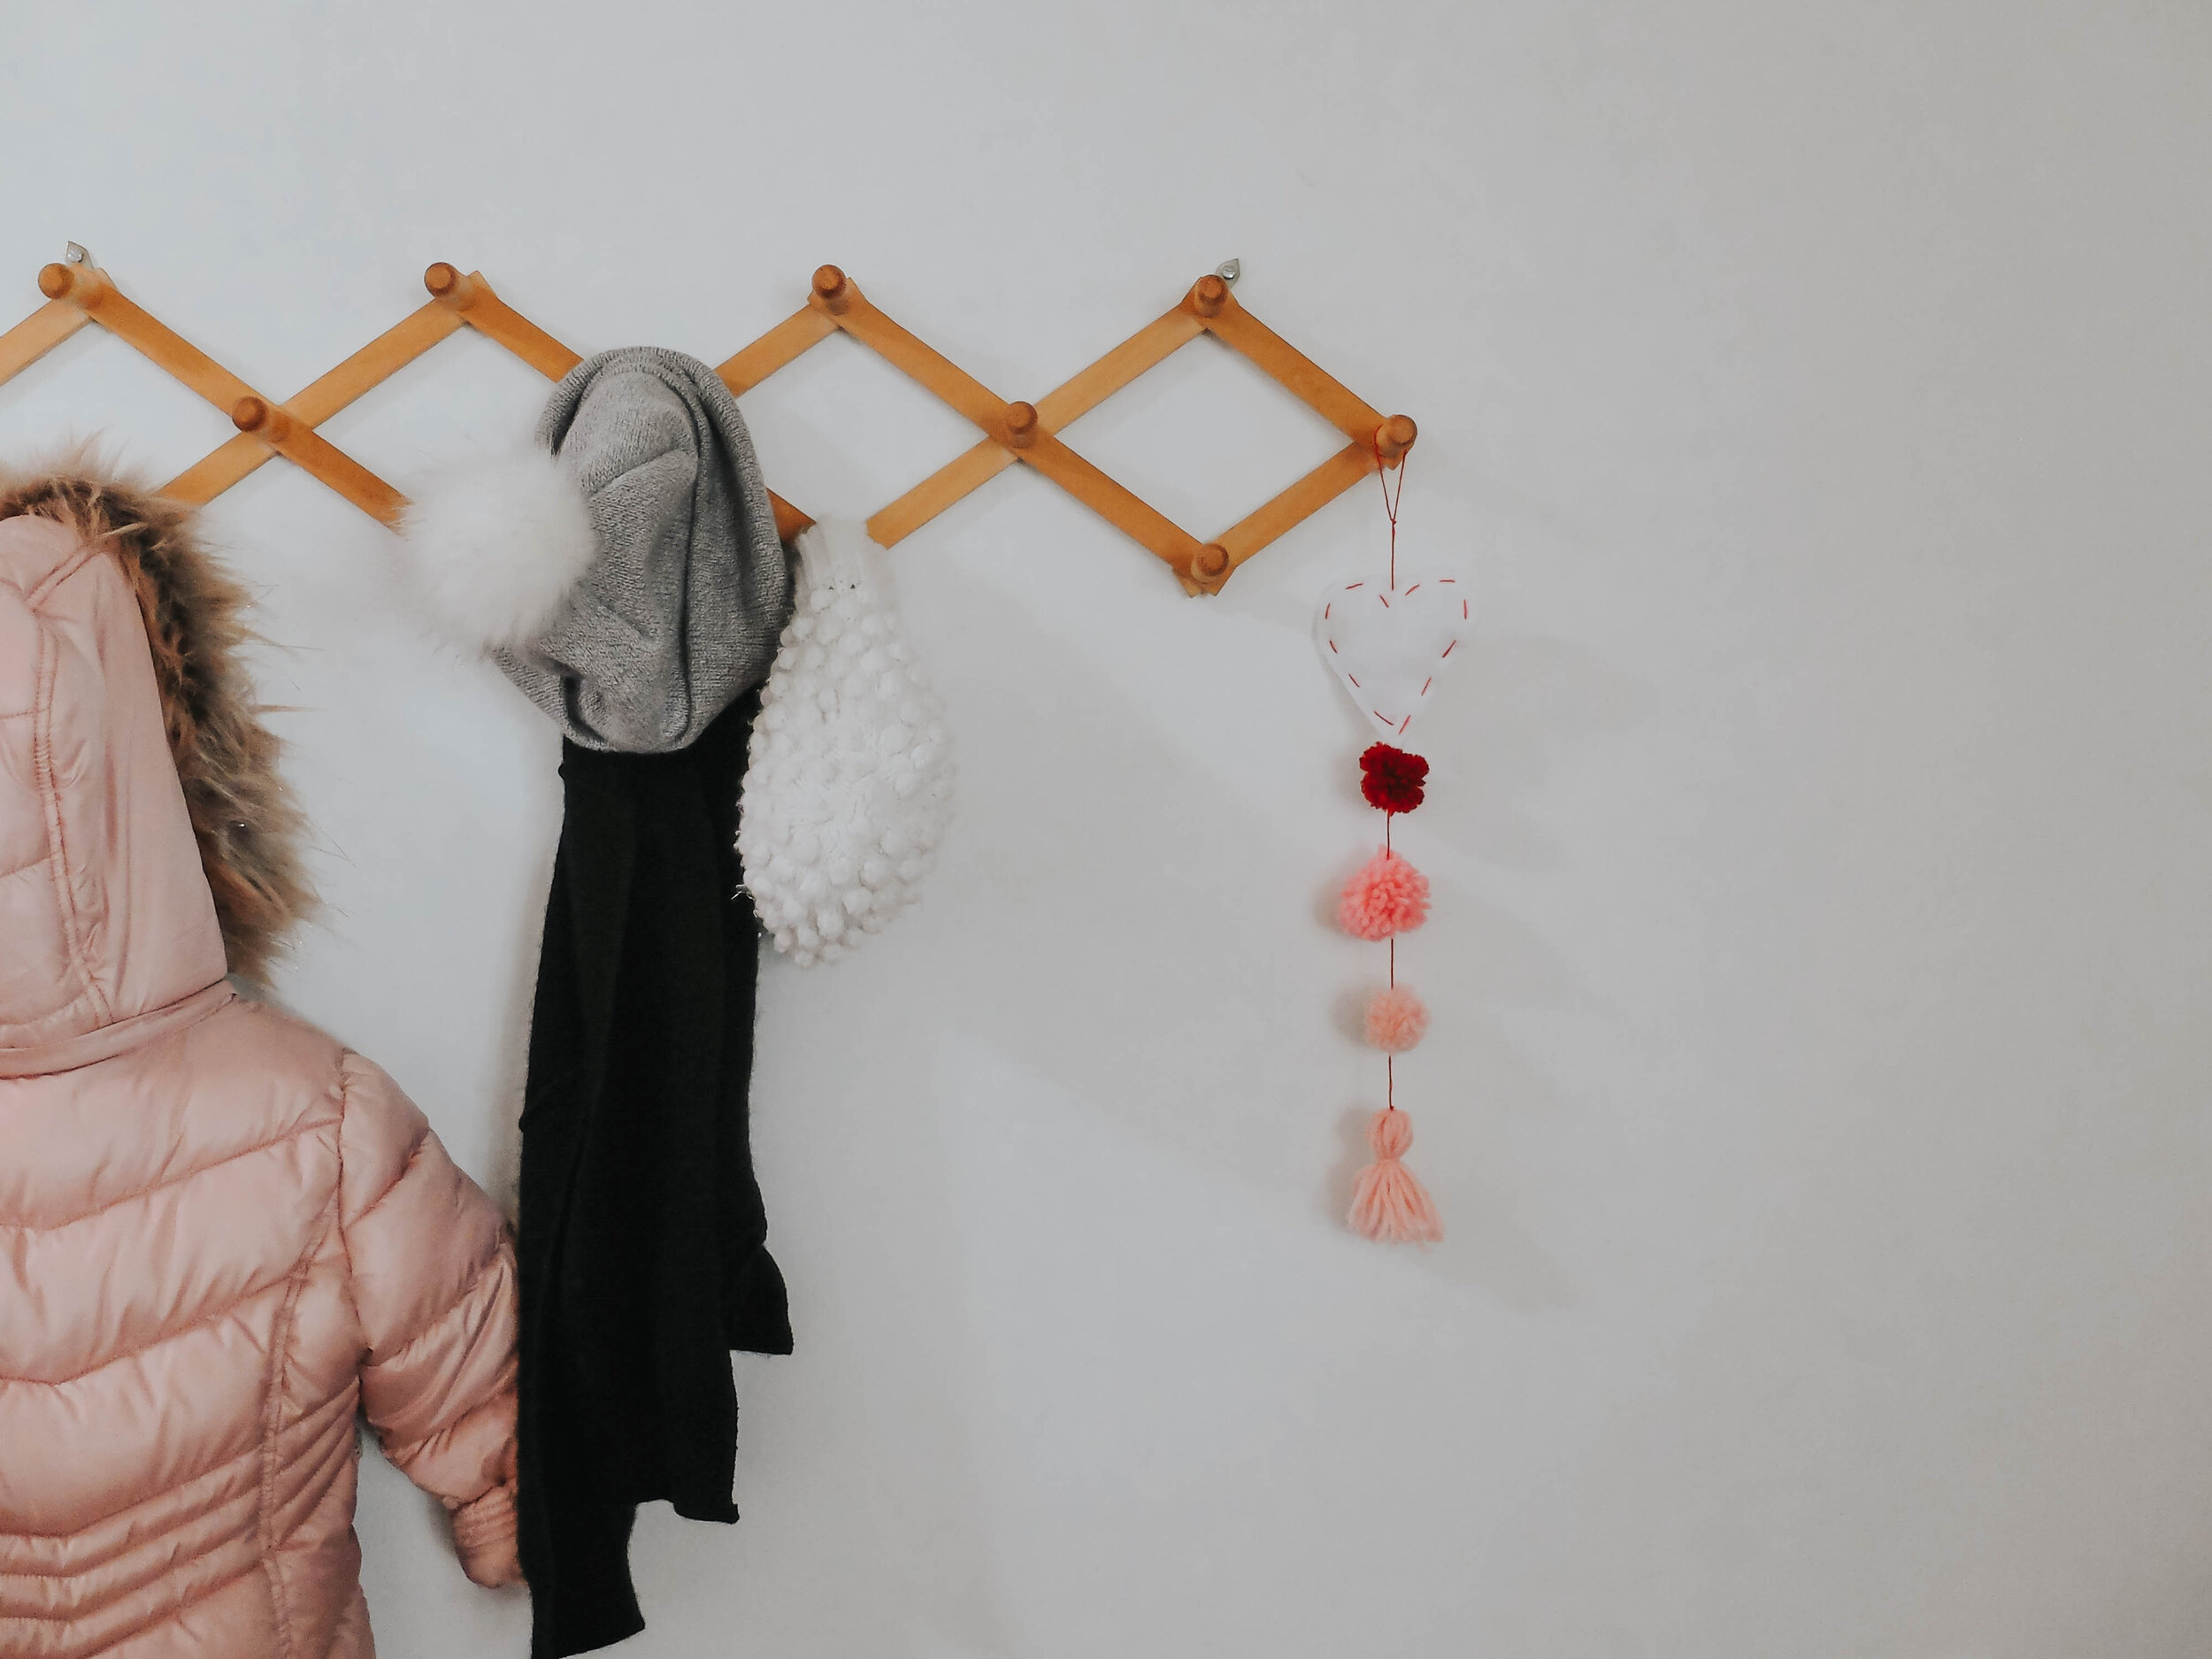
step 5: enjoy your finished work (and hang it up!)
this was such a fun craft to do with my grandma and daughter! although, mostly Mina enjoyed playing with the pom poms and helping cut off excess string.
I also realized as we got into a rhythm of making the pom poms that we had made too many — so I made a couple more hearts and turned those into a few wall hangers, too! We hung one on my daughter’s door handle, one in our living room and gave a couple to friends.

Here are our finished products — the long garland for our mantel in the living room and the wall hanger.

i would love to see how yours turn out! tag me on instagram @thewillowfield when you share!
happy crafting!
XO, cait